Jiffy Corn Casserole
Corn casserole made with a box of Jiffy corn muffin mix, sweet corn, creamed corn, and sour cream. One bowl, 6 ingredients, golden in about an hour.
This post may contain affiliate links. See our disclosure policy.
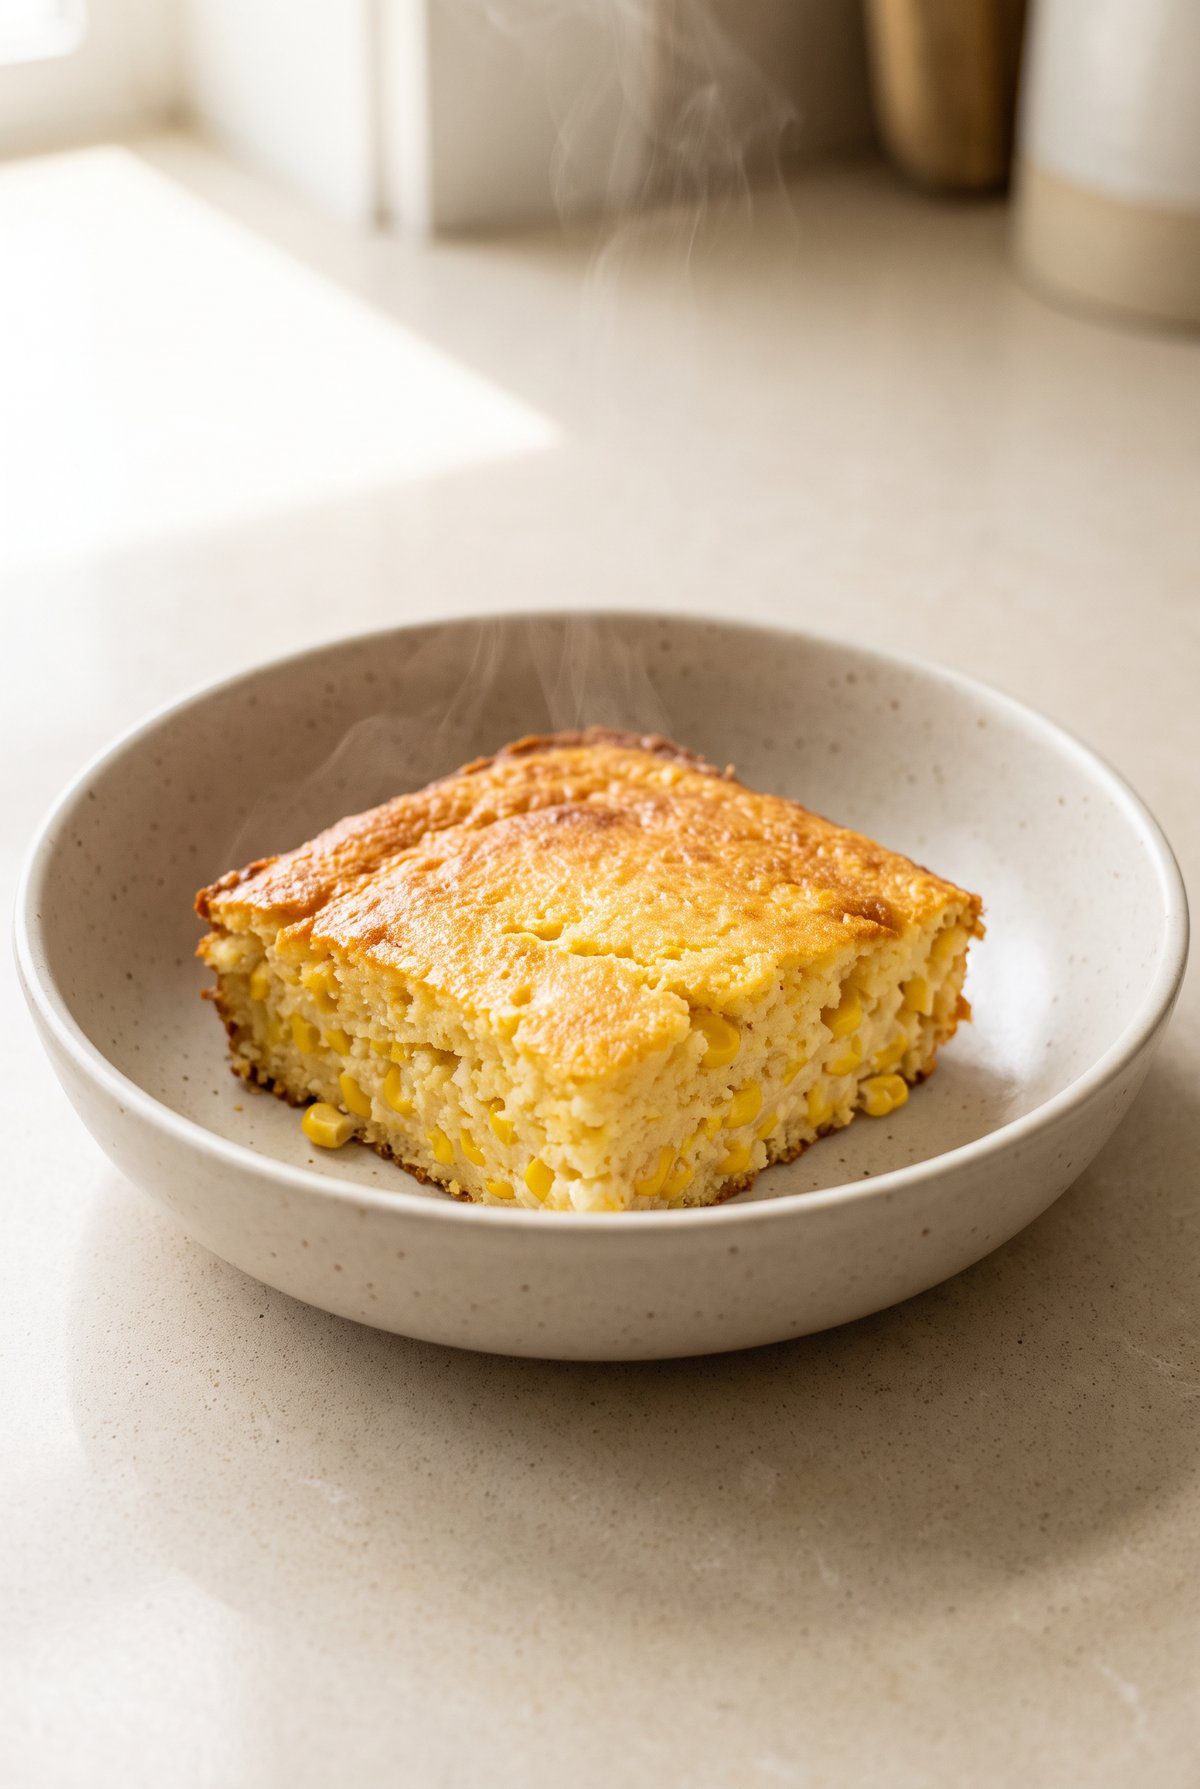
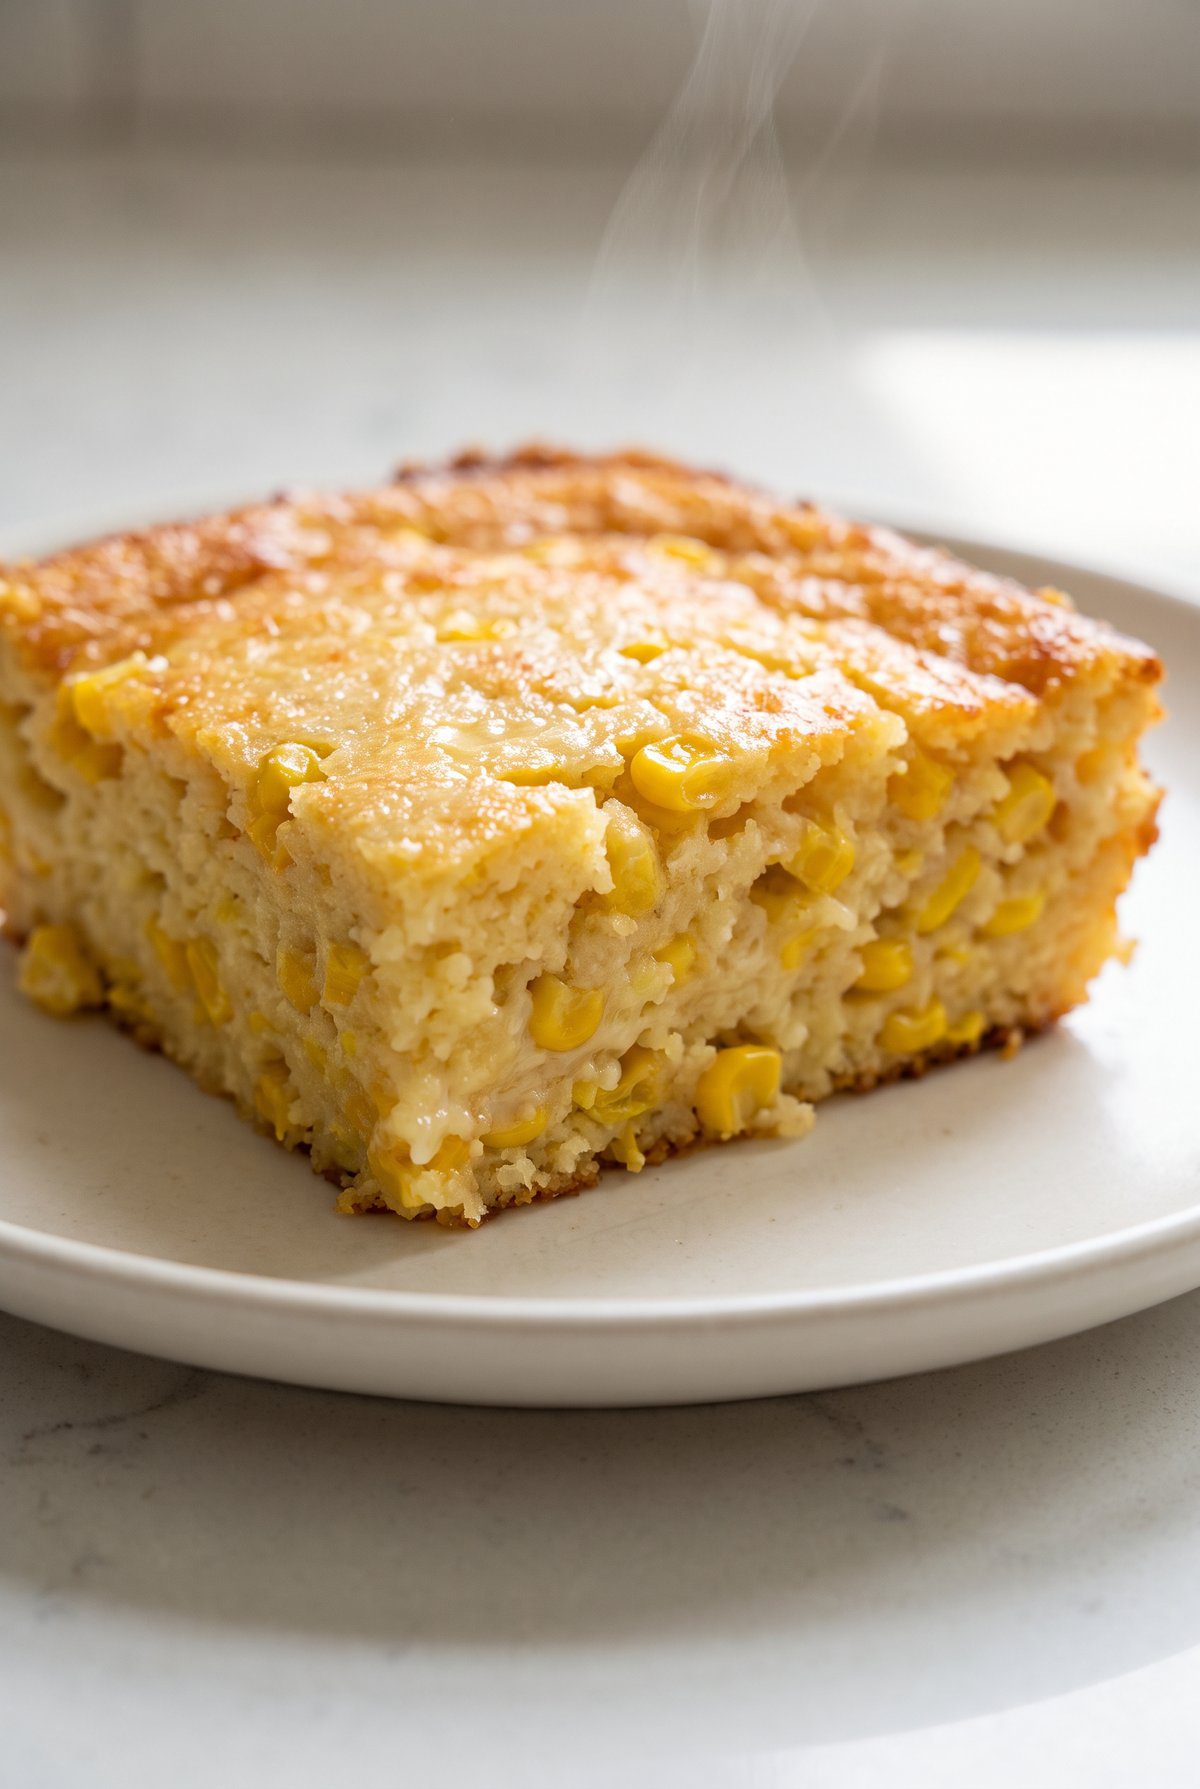
Corn casserole is the side dish that shows up at every holiday table and disappears first, and this corn casserole is the classic six-ingredient version built on a box of Jiffy corn muffin mix. It stirs together in one bowl, bakes for 50 minutes, and lands somewhere between cornbread and spoonbread: custardy in the middle, golden and a little crisp around the edges.
Ignore the directions on the back of the Jiffy box. The mix goes in dry, straight from the package. Creamed corn and sour cream bring all the liquid this needs, and adding milk on top of that gives you a soupy center that never sets.
Drain the canned kernel corn well too. That’s the step most people skip, and the extra liquid is the difference between a casserole that holds its shape on a spoon and one that runs across the plate. Give it a full 10 minutes of rest after it comes out of the oven, since it firms up quite a bit as it cools.
Why You’ll Love This Corn Casserole Recipe
- One bowl and one spoon. Everything goes in together in whatever order you grab it. No mixer, nothing to sauté first, nothing to layer.
- Six ingredients, mostly shelf-stable. Two cans, a box, sour cream, butter, and eggs. You can keep most of it in the pantry for the week you need a side dish in a hurry.
- Sweet corn in two forms. Whole kernels give you texture and creamed corn gives you moisture, so every bite has both.
- It travels. Bake it in the dish you’re bringing, cover it with foil, and it’s still warm when you get where you’re going.
Corn Casserole Ingredients
Use full-fat sour cream, not light. The fat is what makes the middle custardy, and the low-fat versions carry more water, which loosens the batter and stretches out the bake time.
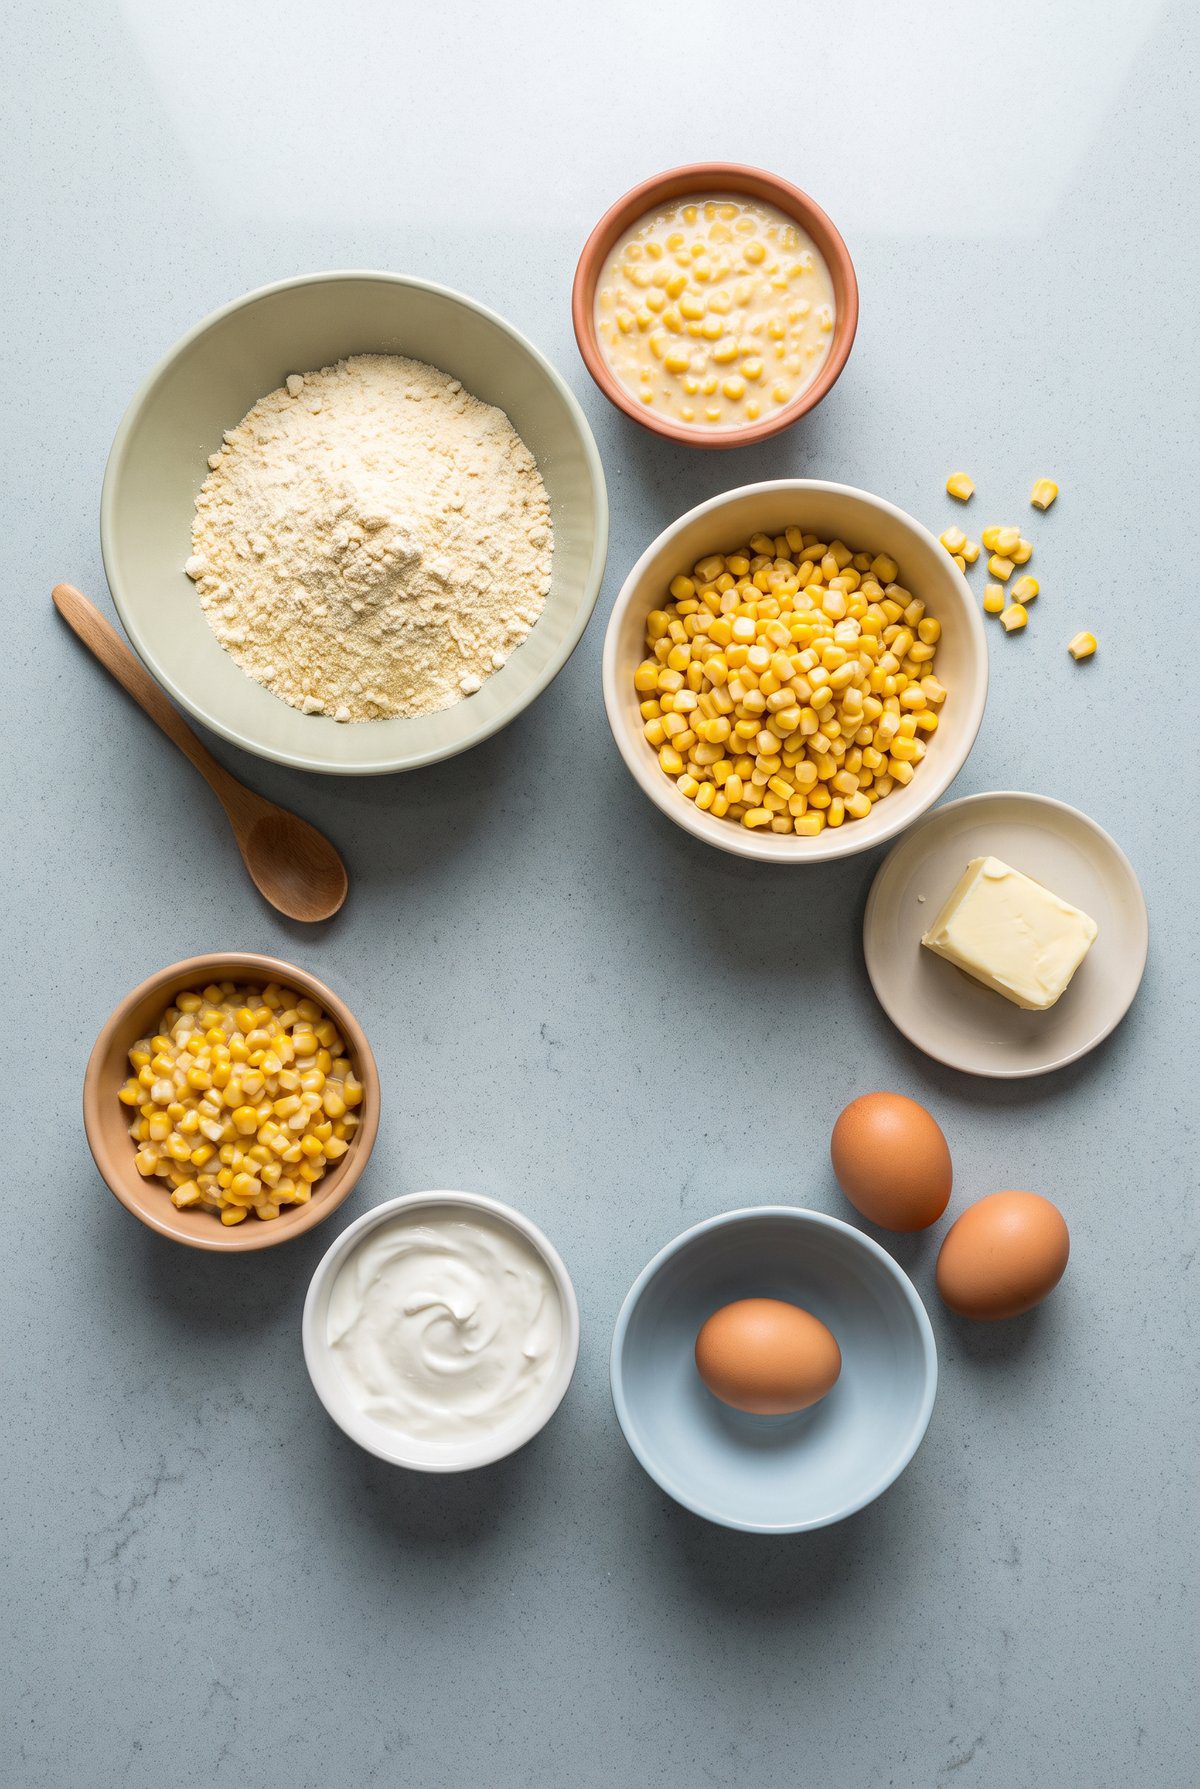
- 1 (8.5 oz) box Jiffy corn muffin mix
- 1 (15 oz) can whole kernel corn, drained well
- 1 (15 oz) can creamed corn
- 1 cup full-fat sour cream
- 1/2 cup salted butter, melted (8 tbsp)
- 2 large eggs
Recipe Variations
- Stir 1 cup of shredded sharp cheddar into the batter with the corn muffin mix, then scatter another 1/2 cup over the top for the last 10 minutes of baking.
- Add 1 seeded, minced jalapeño and 1/4 teaspoon of cayenne for a version with some heat running under the sweetness.
- Fold in 6 slices of cooked, chopped bacon. Cut the melted butter back to 6 tablespoons, since the bacon brings its own fat to the pan.
How to Make Corn Casserole
- Heat the oven: Heat the oven to 350°F and grease an 8×8 inch baking dish or a 2-quart casserole dish with butter.
- Drain the corn: Pour the whole kernel corn into a strainer and let it drain a couple of minutes, pressing gently with the back of a spoon. Wet corn is the most common reason this casserole comes out loose.
- Whisk the wet ingredients: Beat the eggs in a large bowl, then whisk in the melted butter, sour cream, and creamed corn until the mixture is even and pale.
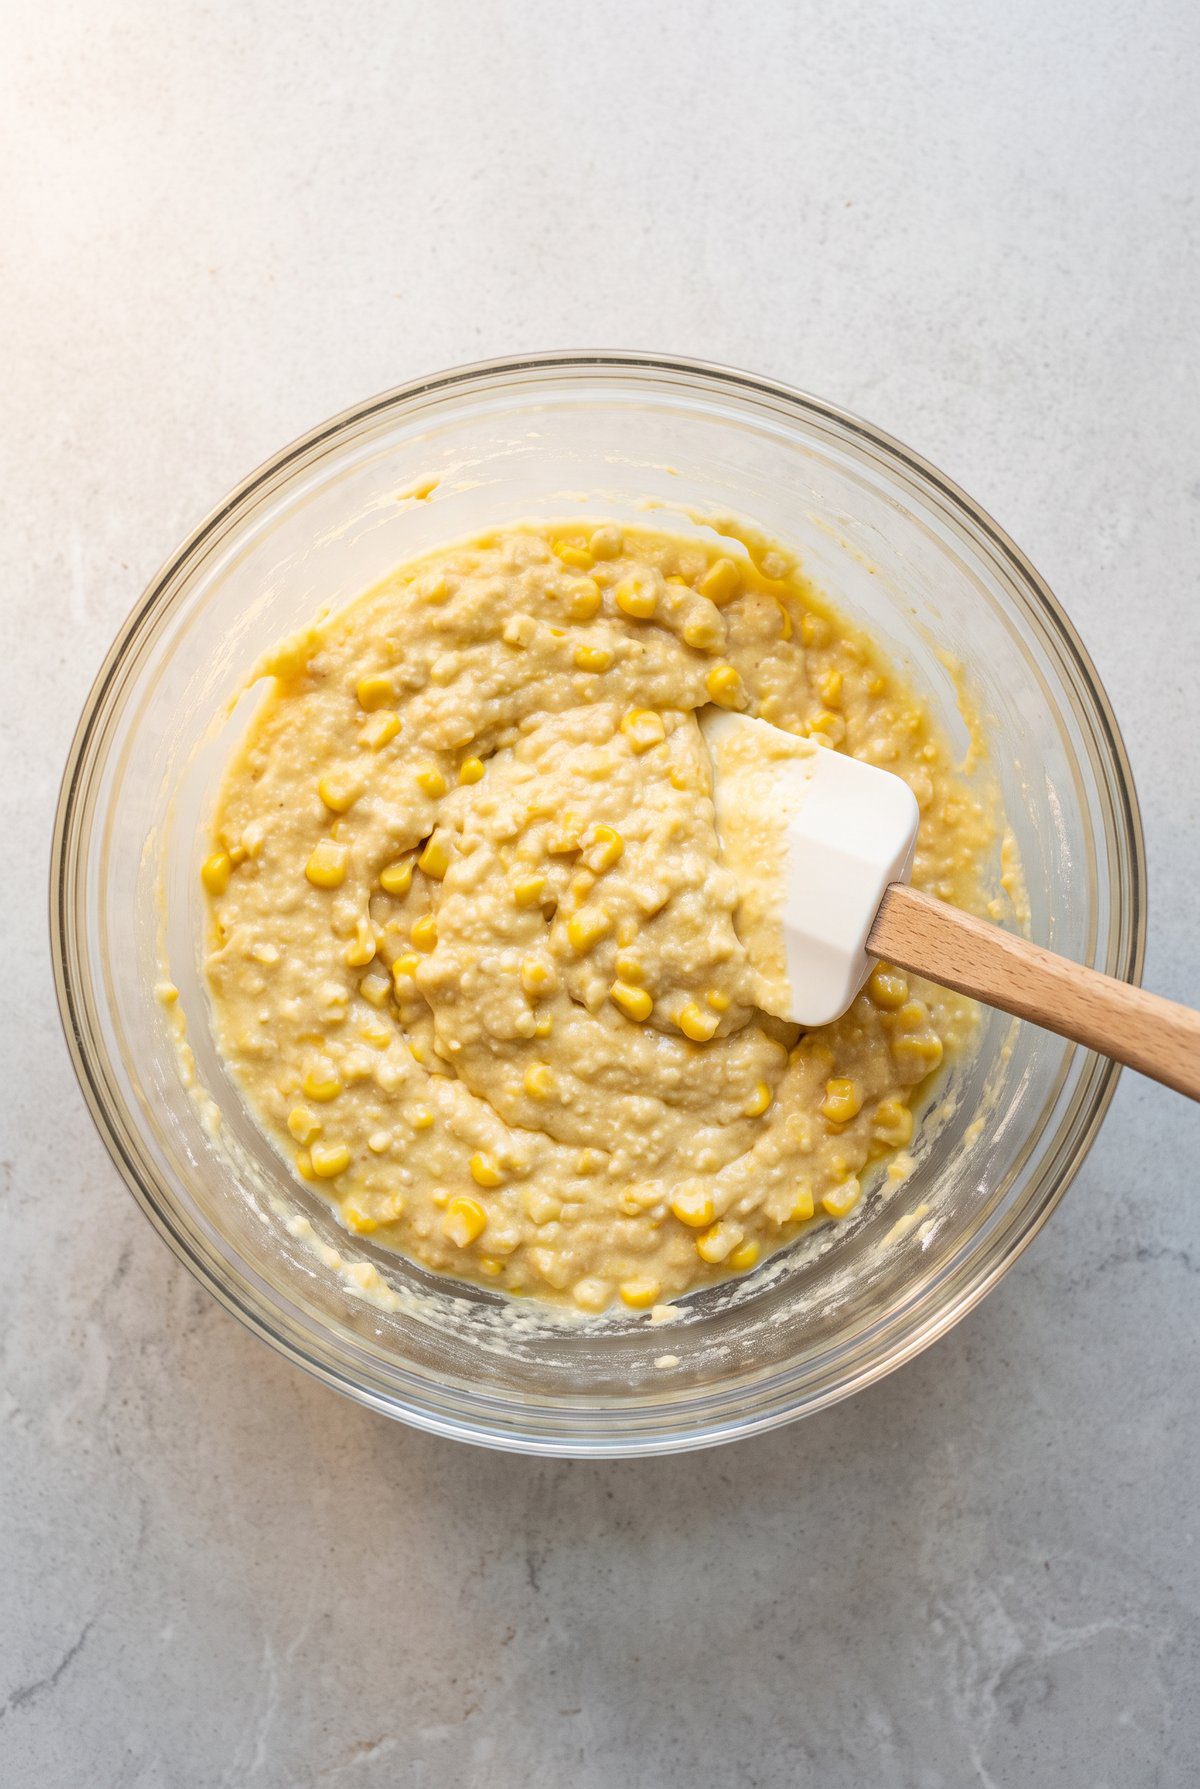
- Add the corn and the mix: Stir in the drained kernel corn, then add the Jiffy mix dry from the box. Stir just until no floury pockets are left. The batter will be thick and lumpy, which is exactly right.
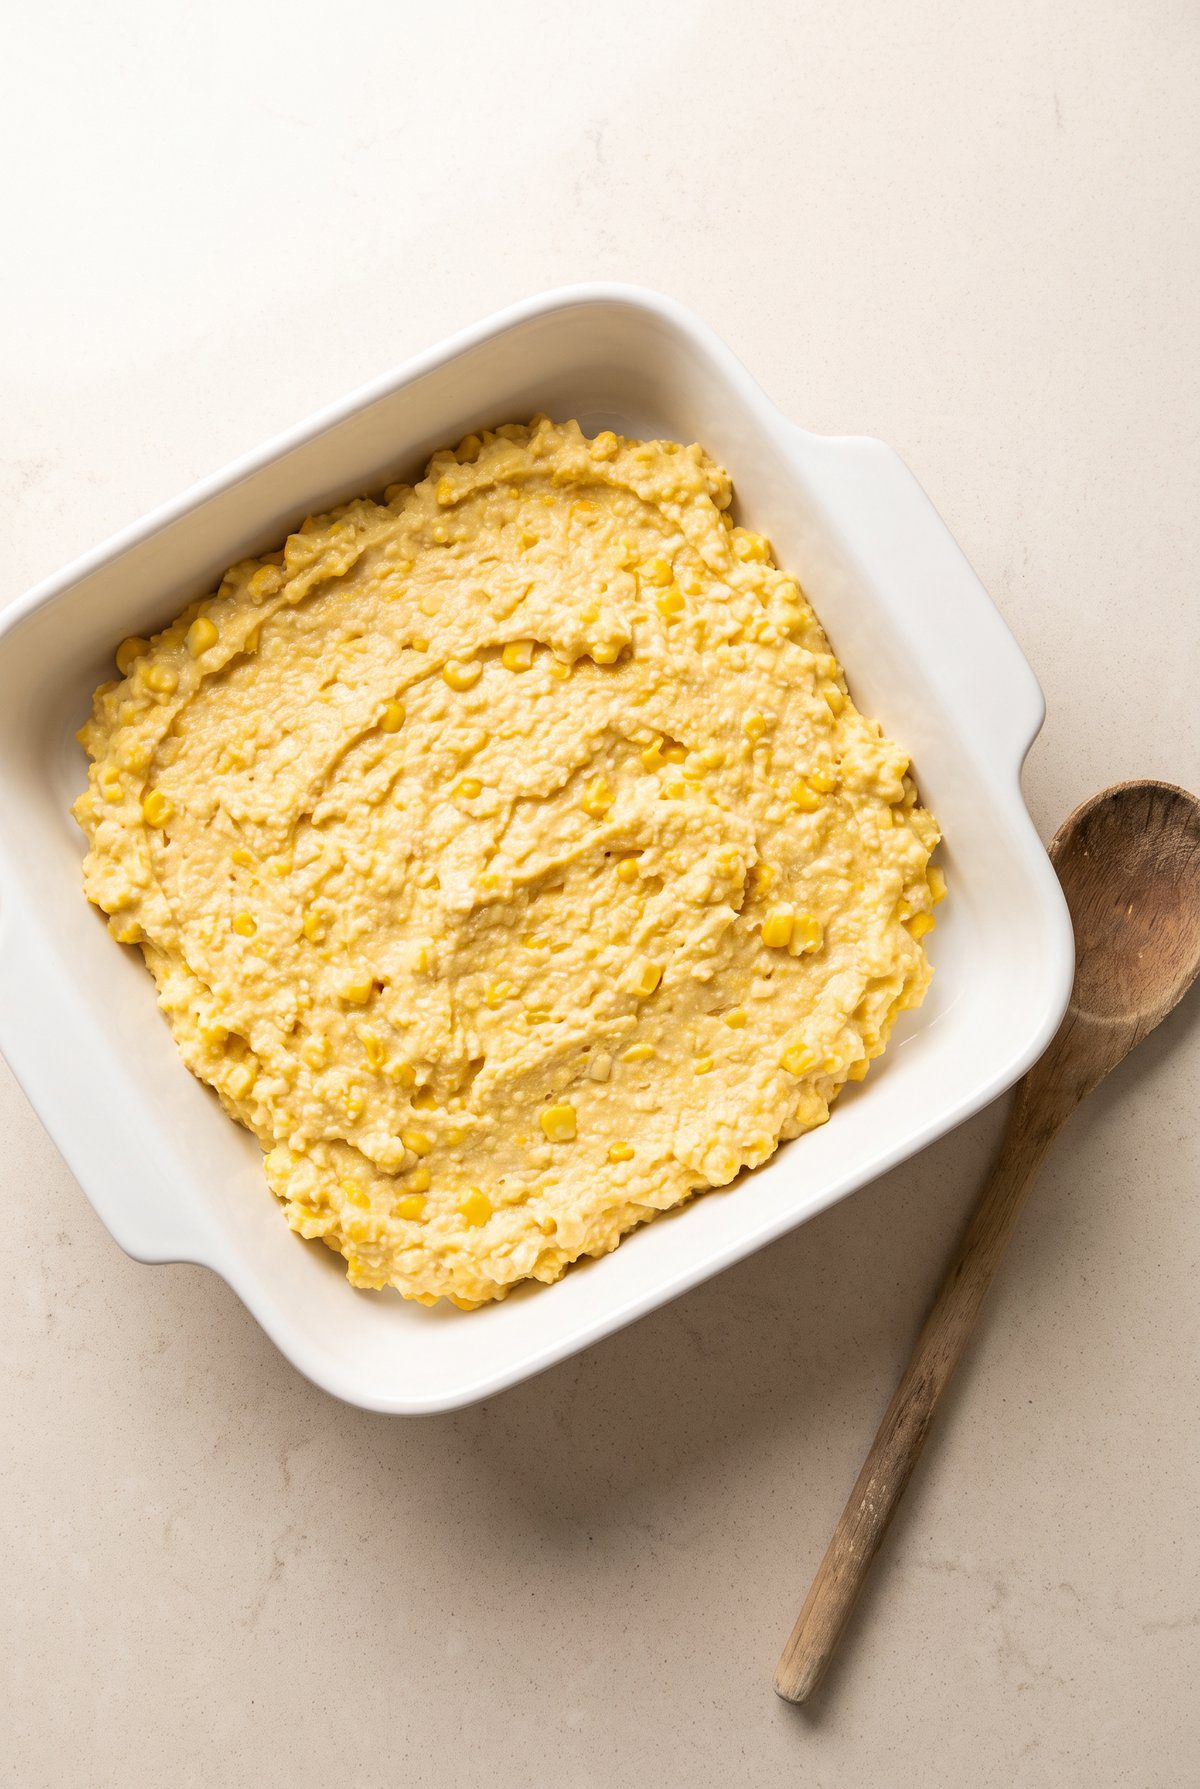
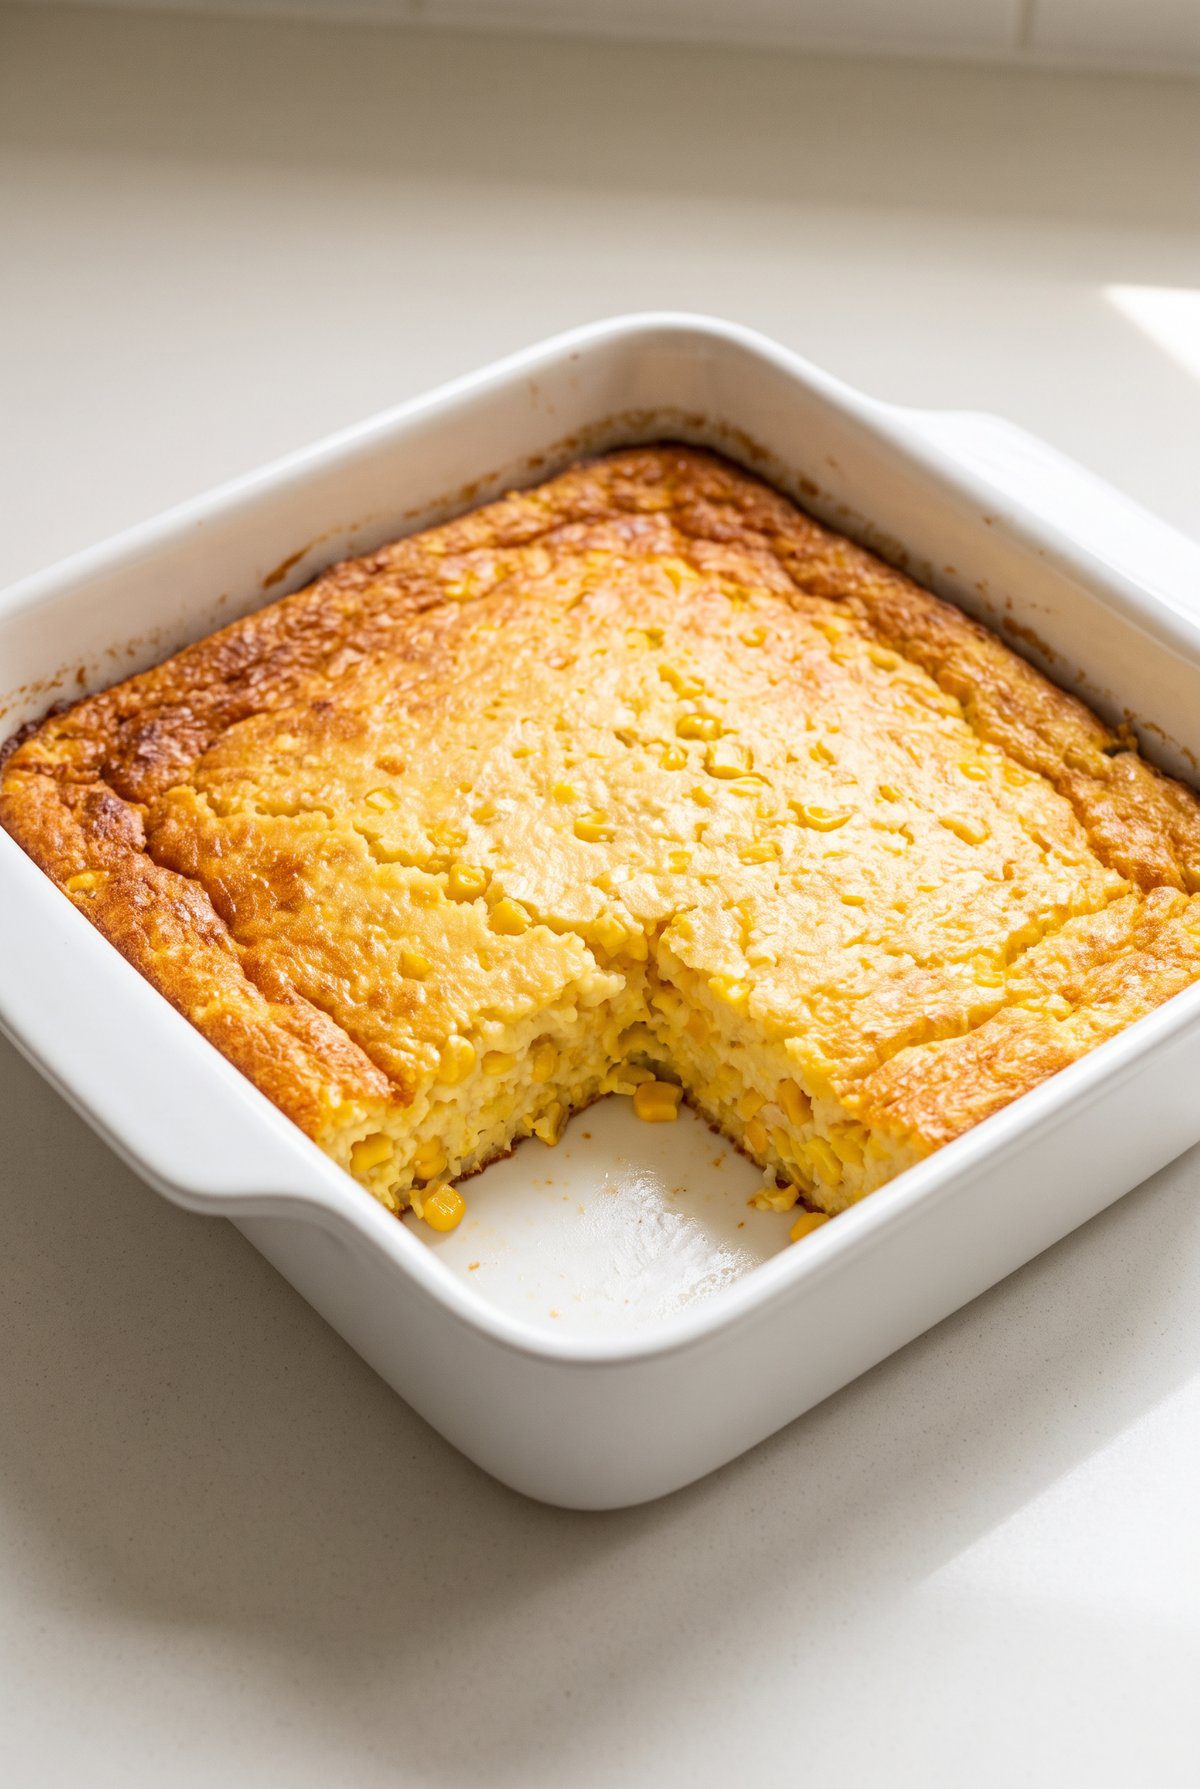
- Bake: Spread the batter into the prepared dish and bake uncovered for 50-55 minutes, until the top is golden brown, the edges pull slightly away from the sides, and the center is set instead of jiggly. A toothpick in the middle should come out with moist crumbs, and an instant-read thermometer in the center should read at least 160°F, the USDA’s temperature for egg dishes.
- Rest before serving: Let it sit 10 minutes before scooping. It sets up as it cools and holds its shape far better than it does straight out of the oven.
Recipe FAQs
Can I Make Corn Casserole Ahead of Time?
Yes. Stir up the batter, cover the dish, and refrigerate up to 24 hours. Bake it straight from the fridge and add about 10 minutes, checking that the center is set and reads 160°F.
Can I Use Frozen Corn Instead of Canned?
Yes. Use 2 cups of frozen corn kernels, thawed and patted dry, in place of the drained can. Keep the canned creamed corn though, since that’s where most of the moisture and body come from.
Why Is My Corn Casserole Runny in the Middle?
Either the kernel corn wasn’t drained, the sour cream was low-fat, or it came out of the oven early. The center should feel firm under a light press and shouldn’t wobble when you shake the dish.
Can I Double This for a 9×13 Pan?
Yes. Double every ingredient, bake it in a 9×13 dish, and add 10-15 minutes. Start checking the center at 60 minutes.
What Can I Use Instead of Jiffy Corn Muffin Mix?
Whisk together 2/3 cup all-purpose flour, 1/2 cup yellow cornmeal, 3 tablespoons sugar, 1 tablespoon baking powder, and 1/4 teaspoon salt, then cut in 2 tablespoons of shortening or oil. That’s the standard stand-in for one 8.5 ounce box.
Cooking Tips
- Melt the butter first and let it sit a minute before it hits the eggs. Butter straight off the burner can scramble them into little cooked flecks that you’ll see in the finished casserole.
- Don’t overmix once the Jiffy goes in. The mix already has baking powder in it, and beating it hard develops gluten and gives you a tighter, breadier texture instead of a soft one.
- Bake it in a light-colored dish if you have the choice. Dark metal pans brown the bottom and edges well before the center has a chance to set.
Storage and Freezing
To store: Cover and refrigerate for up to 4 days. It firms up cold and cuts into clean squares straight out of the fridge.
To freeze: Freeze it baked and fully cooled for up to 2 months, wrapped in plastic and then foil. The sour cream separates a little as it thaws, so expect a slightly grainier texture. Thaw overnight in the fridge.
To reheat: Cover with foil and warm at 350°F for 20-25 minutes, until the center reaches 165°F. Individual scoops take 60-90 seconds in the microwave.
How to Serve Corn Casserole
Corn casserole belongs next to roast turkey, baked ham, or a rotisserie chicken, and it holds its own at a cookout beside pulled pork and coleslaw. On a regular weeknight it rounds out chili or meatloaf nicely. Serve it with a big spoon rather than trying to cut squares, at least while it’s still hot.
Loved This Recipe?
Corn Casserole takes about ten minutes to stir together and an hour start to finish, which is exactly the kind of side dish worth keeping in your back pocket.
Leave a star rating in the comments below, it helps other people find this recipe. Made it? Tag @allwellfed on Instagram, I love seeing this one in other people’s kitchens.
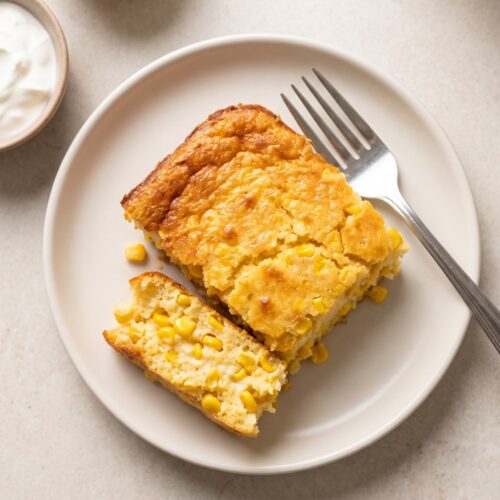
Jiffy Corn Casserole
Equipment
- Instant-Read Thermometer Take it to 160°F in the middle. The edges get there long before the center does.
Ingredients
- 1 (8.5 oz) box Jiffy corn muffin mix
- 1 (15 oz) can whole kernel corn drained well
- 1 (15 oz) can creamed corn
- 1 cup full-fat sour cream
- 1/2 cup salted butter melted, 8 tbsp
- 2 large eggs

Instructions
- Heat the oven: Heat the oven to 350°F and grease an 8×8 inch baking dish or a 2-quart casserole dish with butter.
- Drain the corn: Pour the whole kernel corn into a strainer and let it drain a couple of minutes, pressing gently with the back of a spoon. Wet corn is the most common reason this casserole comes out loose.
- Whisk the wet ingredients: Beat the eggs in a large bowl, then whisk in the melted butter, sour cream, and creamed corn until the mixture is even and pale.
- Add the corn and the mix: Stir in the drained kernel corn, then add the Jiffy mix dry from the box. Stir just until no floury pockets are left. The batter will be thick and lumpy, which is exactly right.
- Bake: Spread the batter into the prepared dish and bake uncovered for 50-55 minutes, until the top is golden brown, the edges pull slightly away from the sides, and the center is set instead of jiggly. A toothpick in the middle should come out with moist crumbs, and an instant-read thermometer in the center should read at least 160°F, the USDA’s temperature for egg dishes.
- Rest before serving: Let it sit 10 minutes before scooping. It sets up as it cools and holds its shape far better than it does straight out of the oven.
Notes


If you made this, leave a star rating down in the comments. It takes about ten seconds, and it’s how other cooks decide whether a recipe is worth trying.